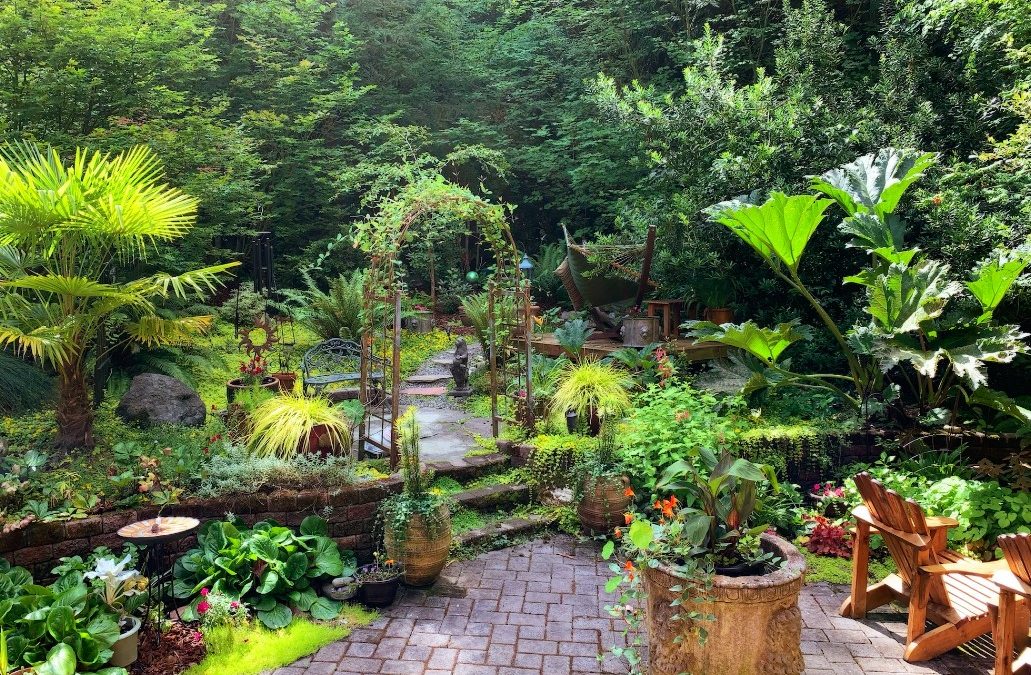
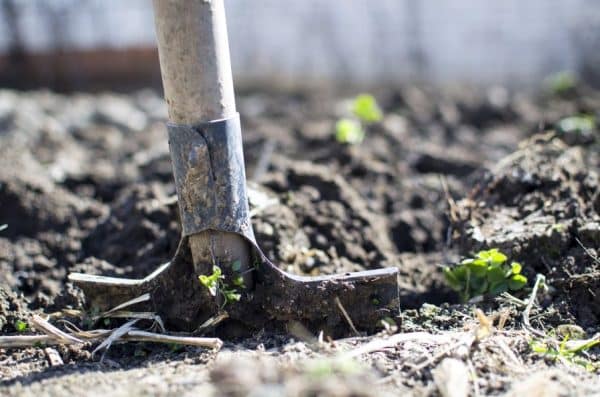
It’s the middle of Spring and there is loads to be done in your Perth garden to boost it’s growth, improve it’s look and get it healthy and happy and ready for Summer!
October is an exciting time for gardening in Perth as spring is in full swing and things are growing, the weather is lovely and it’s a very inviting season to spend time in your garden. The warmer weather and longer days are perfect for getting all the garden tasks complete, ready for the summer months.
If the idea of doing the work doesn’t excite you, but you want a lovely and healthy garden, just get in touch with our gardening team and we would love to help take some of the load off your plate!
Must-Do October Garden Maintenance Tasks
Spring in Perth means growth and increased heat! This month, you’ll want to do everything possible to protect, prevent and improve the health of your plants so they can withstand the Perth summer that is coming for us.
Here are some of our top tips for the garden maintenance tasks you should be tackling this month:
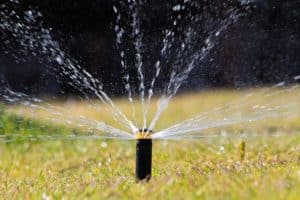
1. Water Efficiently.
As temperatures rise, proper watering becomes essential. Water deeply but less frequently to encourage deep root growth. Early morning is the best time to water to minimise evaporation. Make sure to run your system maually to check coverage; are there plants, grass or branches that need trimming back to ensure the water gets where it needs to go? Call a reticulation company for a health check and service if you want a professional to do this for you.
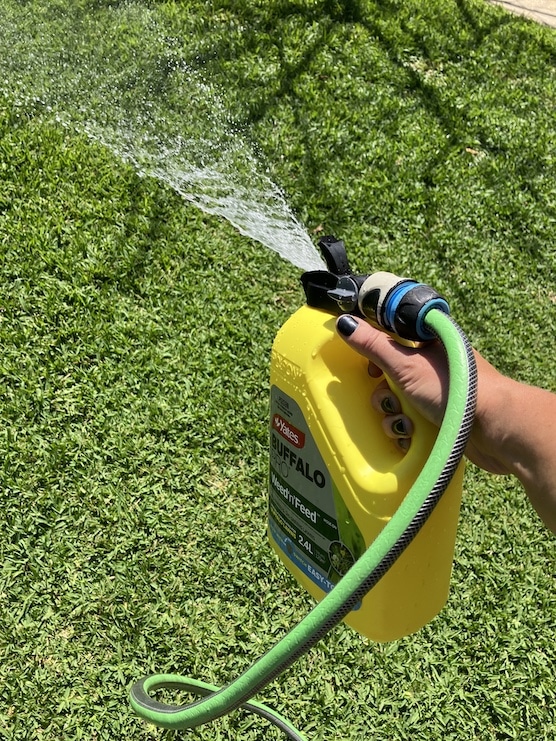
2. Fertilise for Growth.
Your plants need nutrients to thrive, especially as they enter their active growing phase. Apply a balanced fertiliser or compost to give your plants and lawns a boost. Use slow-release fertilisers for longer-lasting effects. Tip: Add liquid seaweed or fish emulsion to improve plant health and soil structure. This is especially beneficial for flowering plants and vegetables.
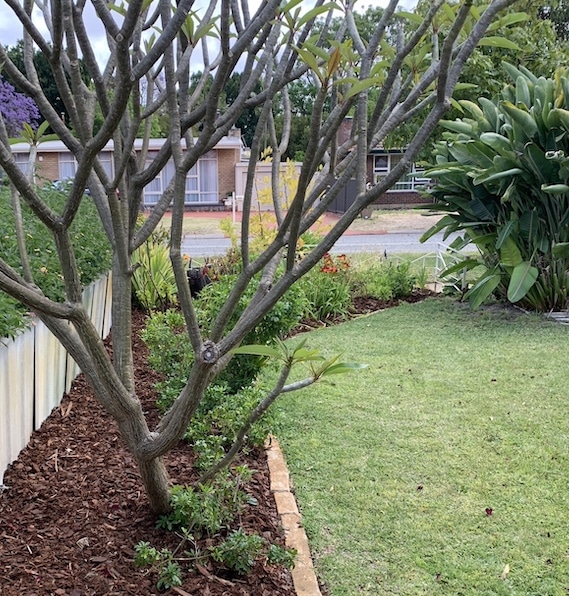
3. Prune Spring Flowering Shrubs.
Once spring-flowering shrubs like wisteria, camellias, and azaleas have finished blooming, it’s time to prune them. This encourages healthy growth and prepares them for next year’s blooms. Tip: Use sharp pruning shears and focus on removing dead, diseased, or crossing branches to open up the plant for better airflow and sunlight.
4. Control Pests and Diseases
Warmer weather brings pests like aphids, whiteflies, and caterpillars. Keep an eye on your plants and act early. Use eco-friendly pest control options like neem oil or insecticidal soap to combat infestations. Grubs feed on roots and can eventually kill plants and are most active in Spring.
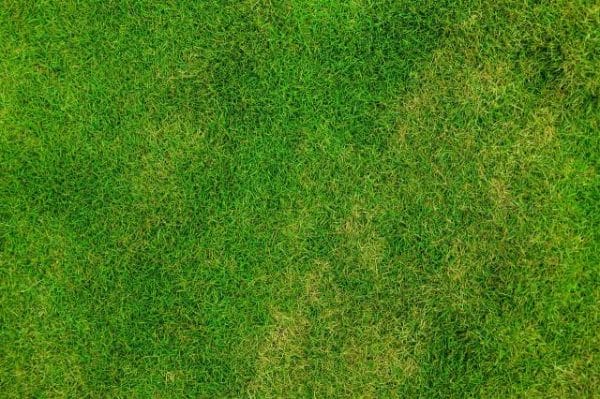
5. Lawn Care
Your lawn will start growing faster in October. It’s a good time to mow regularly again, but don’t cut it too short. Fertilise your lawn with a high-nitrogen fertiliser to encourage healthy growth and thick coverage. Make sure to tidy the edges and prevent any extra growth spreading into your garden beds.
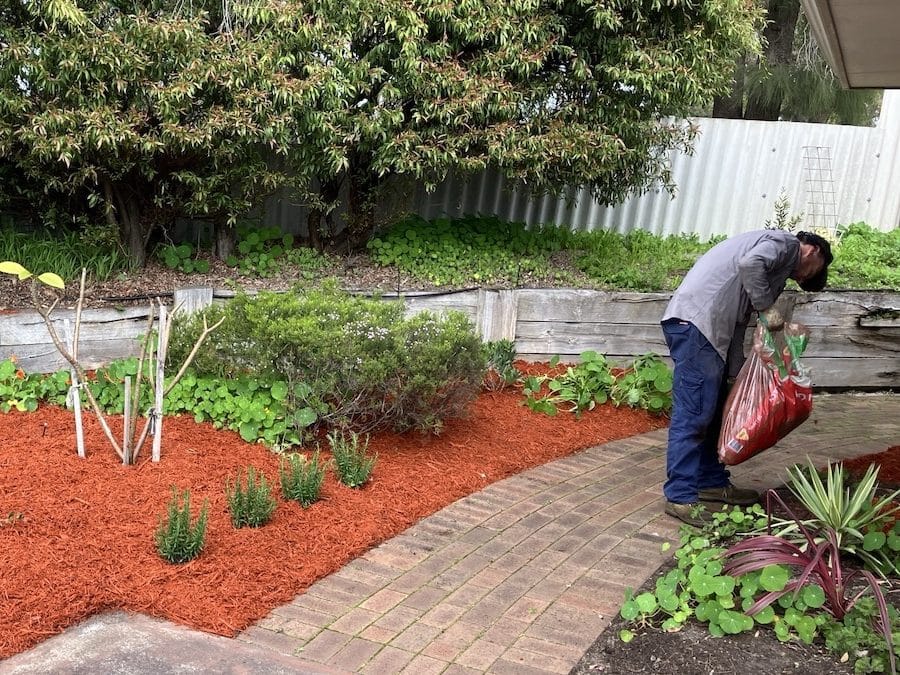
6. Mulch for Water Retention
We always talk about mulching as it’s so important for garden health! Mulching is especially critical in Perth’s dry climate. It helps conserve soil moisture, prevent water run-off and evaporation and keeps roots cool as the temperatures rise. Apply a thick layer of organic mulch around the base of your plants. Tip: Keep mulch away from the stems of plants to prevent rot and pests.
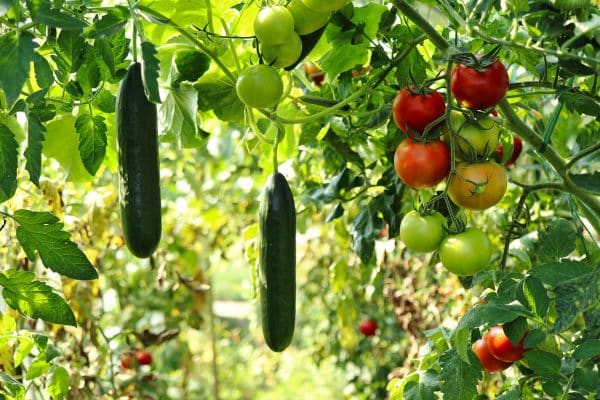
What to Plant in Perth in October
Native Australian plants like kangaroo paw, grevillea, and banksia thrive in Perth’s climate and require less water.
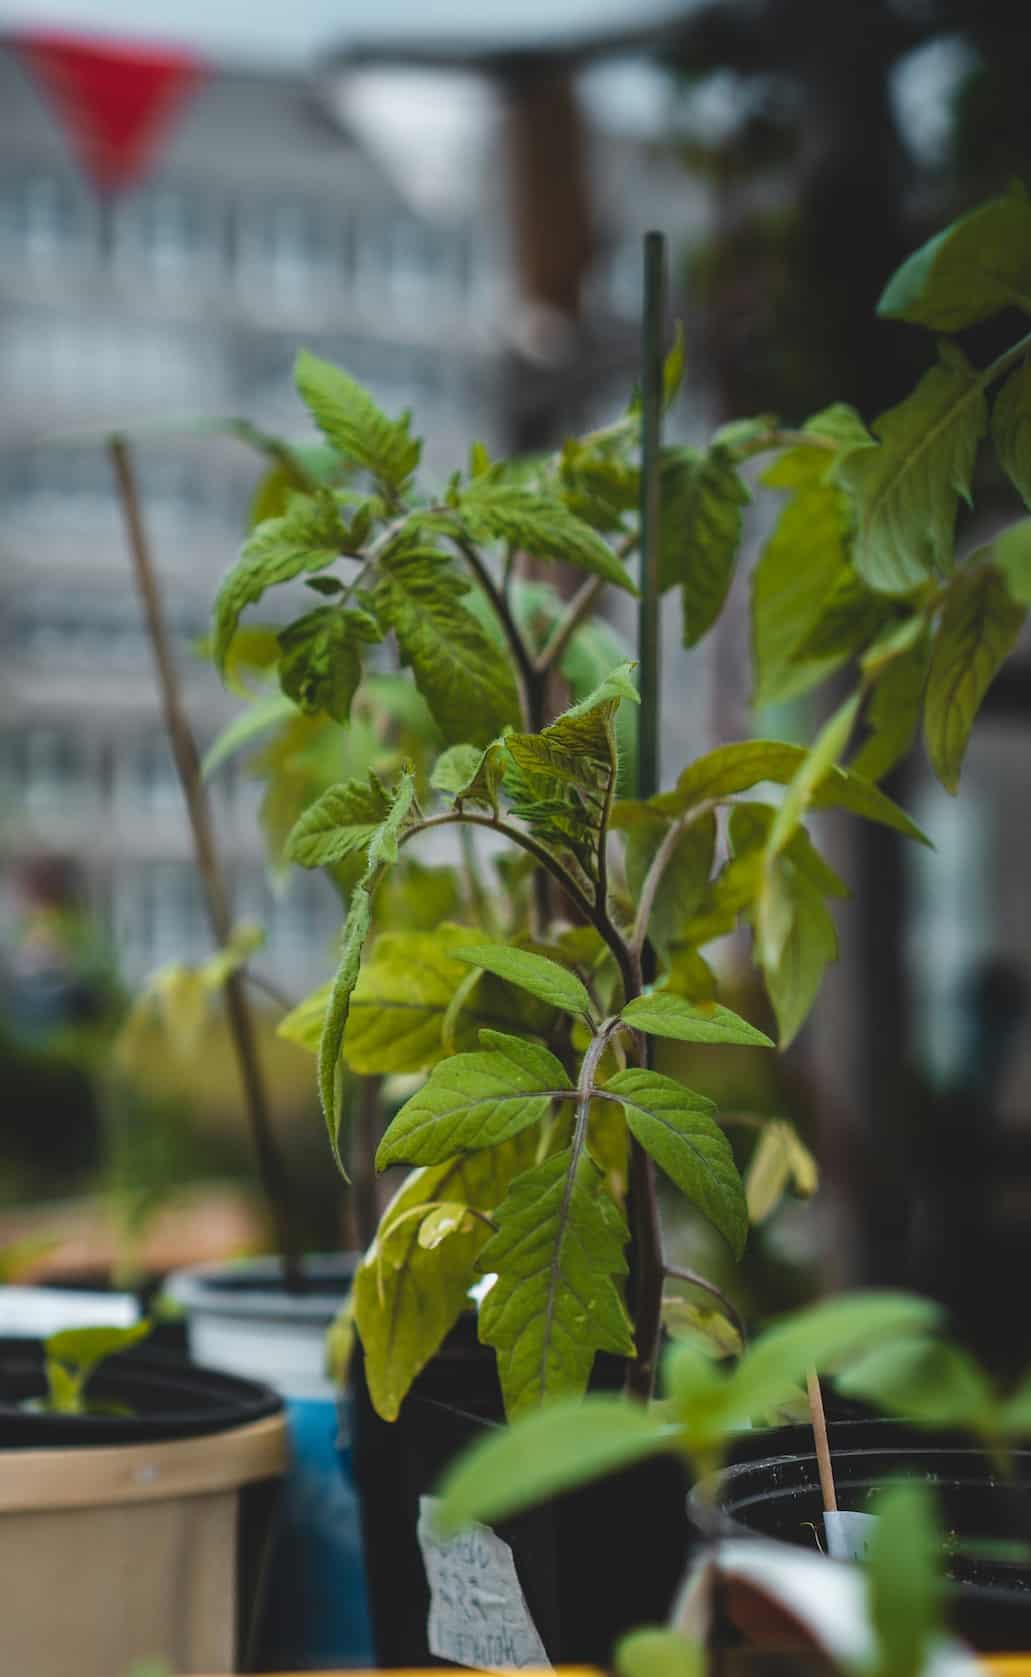
Tomatoes: Plant seedlings in well-drained soil with plenty of sun. They’ll need staking as they grow.
Capsicum (Bell Peppers): These thrive in the heat and should be planted in a sunny spot with rich soil.
Zucchini: Easy to grow and perfect for a sunny garden bed.
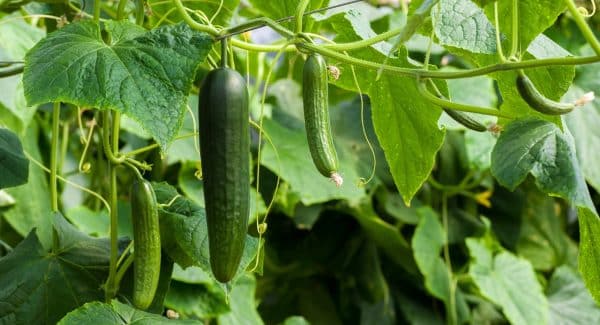
Cucumbers: Plant in full sun and provide a trellis for them to climb.
Pumpkins: These sprawling plants need space and love the heat, so plant in a large area with plenty of room to spread.
Beans (French & Climbing): Plant directly into the ground or in pots, giving climbing varieties a trellis for support.
Herbs: Basil, Parsley and Mint all love a bit of sun.
Oregano & Thyme: Both are hardy herbs that can be planted in sunny spots and tolerate dry conditions.
Zinnias: Hardy and drought-tolerant, these flowers will thrive in Perth’s climate.
Lavender: A fragrant addition to any garden, lavender loves full sun and well-drained soil.
Agapanthus: A hardy perennial that will flower beautifully in summer. Plant in full sun or part shade in early Spring.
Strawberries, Citrus and Melons can also be planted in Spring.
Tips for Planting in October
Mulch: As temperatures rise, adding mulch around your plants helps to retain moisture and keep roots cool.
Watering: Water early in the morning to minimise evaporation and give plants a good start to the day.
Fertilising: Apply slow-release fertiliser or compost to give new plants a nutrient boost.
If you need help with your yard this October just contact our team to find out how we can help your garden get the best start to Spring and beyond – garden maintenance is what we do!
Looking for ways to keep your garden healthy and looking great?
Growing a thriving garden in Perth comes with its own unique issues; we live in a hot and dry climate so it’s important to take care of your gardens and lawns in the most appropriate way for our local environment. With that in mind, we have complied our favourite useful gardening tips to have in your tool kit to help you improve garden health, fight pests and disease and make your garden even more beautiful!
Some of these you may know, some may be new to you, and some may even surprise you! Read on for our top useful gardening tips for proud Perth gardeners…
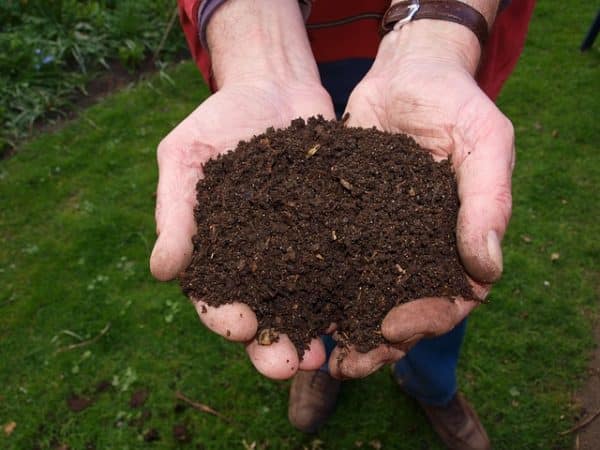
1. Compost Gold
Start a compost bin with kitchen scraps like fruit and vegetable peels, coffee grounds, and eggshells. Compost adds essential nutrients to the soil, improves its structure, and promotes beneficial microbial activity. There are so many compost bin options now that make it easier to do – including sizes perfect for smaller properties and spaces. Plus, it’s a sustainable way to recycle organic waste and reduce your carbon footprint in the garden and keep food waste out of landfill. Trust us, you’ll see the difference in colour – your compost will be a rich, dark earthy colour, compared to the usual Perth soil which is light brown/grey or just sand!
2. Mulch Matters
If you read our blogs, you’ll have seen us talk about this before, but mulch is essential for healthy, waterwise gardens in our book! Apply a thick layer of organic mulch, such as pine bark or jarrah (you can even use shredded leaves or straw/lupin mulch) around plants to conserve moisture, suppress weeds, and regulate soil temperature.
Mulch also gradually breaks down, enriching the soil with nutrients and improving its overall health over time. For added weed suppression and ‘layers’ in your soil’s eco-system, add layers of newspaper or carboard between the soil and the mulch. This helps create the greenhouse effect and super-charge your soil heath.
3. Epsom Salt Boost
Give your plants a magnesium boost by adding Epsom salt to the soil. Dissolve a tablespoon of Epsom salt in a gallon of water and use it to water your plants once a month. Magnesium promotes chlorophyll production and increases nutrient absorption, leading to healthier, greener foliage and better overall plant growth. It can also provide a bloom-boost for your flowering and green shrubs. Since Perth’s soils tend to be a bit nutrient-deficient, this is a great way to give your plants a bit more TLC to thrive!
4. Banana Peel Power
Are bananas a regular snack in your household? Start saving your banana peels and bury them around the base of plants like roses, tomatoes, and peppers. Banana peels decompose slowly, releasing potassium, phosphorus, and other trace minerals into the soil. They also contain calcium, magnesium, and sulphur – so the peels are as good for your plants as the fruit is for you! This natural fertilizer encourages robust root growth, flowering, and fruit production. Just make sure they don’t touch the plant stems.
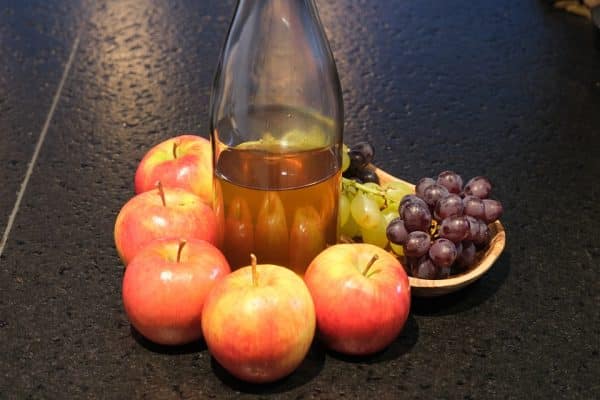
5. Vinegar Weed Killer
We all have a bottle of vinegar in the cupboard – but have you ever used it on weeds? Create a natural weed killer using your household vinegar instead of a harsh chemical option. Mix equal parts white vinegar and water in a spray bottle and add a few drops of dish soap. Spray the solution directly onto weeds, taking care to avoid any nearby plants. The acetic acid in vinegar effectively kills weeds by dehydrating them, making it an eco-friendly alternative to chemical herbicides. This is a great option for spot-weeding those annoying patches around your garden.
6. Coffee Grounds Weed Prevention
A lot of us are told to use coffee grounds in the garden for weed suppressants or a soil boost, but it can actually inhibit growth in plants – it’s all in how you use it. The safest way to use your coffee grounds is as an addition to your compost! Once broken down and the rich compost is added to your garden, the coffee inclusion helps the soil to increase water retention and inhibit weed growth. This way your garden gets all the benefits without the potential negative impacts.
7. Garlic Spray Insecticide
Not just for vampires, it also repels and kills pests! Make your own insecticidal spray using garlic, an effective natural repellent against aphids, caterpillars, and other garden pests. Blend several cloves of garlic with water in a blender, strain the mixture, and dilute it with more water. Transfer the solution to a spray bottle and apply it to infested plants, targeting both pests and their eggs for comprehensive control. Be aware that it is a potent herb so don’t use it too concentrated and make sure to spray later in the day so the sun on the sprayed plant’s leaves doesn’t burn them.
8. Neem Oil Protection
Use neem oil as a safe and organic insecticide and fungicide in your garden. Neem oil disrupts pests’ feeding and reproductive cycles, effectively controlling a wide range of garden pests like aphids, mites, and insects. It also suppresses fungal diseases such as powdery mildew and black spot, keeping your plants healthy and disease-free. There are a lot of easily available neem oil sprays in Perth from gardening shops, online specialists and, of course, Bunnings.
9. DIY Eggshell Fertilizer
Crush eggshells into small pieces and sprinkle them around the base of plants to provide a slow-release source of calcium. Calcium is essential for strong cell walls and helps prevent common disorders like blossom end rot in tomatoes and peppers. Eggshells also deter soft-bodied pests like snails and slugs, acting as a natural barrier around vulnerable plants. You can also throw them in your compost for an added boost. Make sure to bury them if you have issues with pests/pets so they are less likely to attract them.
10. Soap Solution Pest Control
Create a gentle insecticidal soap spray to control soft-bodied pests like aphids, mealybugs, and spider mites. Mix a tablespoon of mild liquid soap, such as Castile soap, with a quart of water in a spray bottle. Shake well and spray the solution directly onto affected plants, covering both the tops and undersides of leaves. The soap disrupts pests’ cell membranes, causing them to dehydrate and die off without harming beneficial insects or plants. As always, don’t spray when the sun is directly on the leaves, or they may burn.
11. Baking Soda Fungicide
Combat fungal diseases like powdery mildew and black spot with a simple baking soda spray. Many fungal sprays are toxic to animals (including bees!) and their humans, so many gardeners prefer to try this option first. Mix a teaspoon of baking soda and a few drops of liquid soap (not laundry detergent) in a gallon of water and spray it onto affected plants every 7-10 days. Baking soda raises the pH of the plant surface, creating an inhospitable environment for fungal spores to germinate and spread. And when do we spray this on the plants? That’s right, not during the day in full sun!
12. Milk Mildew Prevention
Prevent powdery mildew and other fungal diseases by spraying plants with diluted milk. Mix one part milk with two parts water and spray it onto susceptible plants every 7-14 days. The proteins and enzymes in milk have antifungal properties that suppress fungal growth and boost plants’ natural immune responses, keeping them healthy and disease resistant. Try to do this in the morning before the sun is up so the leaves don’t burn, and it gives the plant a chance to dry out during the day. And remove all affected leaves before treatment.
13. Vinegar Soil pH Adjustment
Adjust soil pH levels naturally using household vinegar. Test your soil pH with a soil testing kit and, if it’s too alkaline (high pH), apply white vinegar at a rate of one cup per gallon of water to lower it. Mix the vinegar solution into the soil around plants or use it as a soil drench, repeating as needed until you achieve the desired pH range for your plants. Take great care to avoid any vinegar going on the plant leaves and keep your quantities on the lower side to be safe as it is a very acidic and can be harmful in high concentrations.
14. Molasses Soil Amendment
Improve soil fertility and microbial activity by incorporating molasses into your gardening routine. Mix one tablespoon of unsulfured (check your labels first) molasses with a gallon of water and use it to water your plants every few weeks. Molasses provides sugars that feed beneficial soil microbes, enhancing nutrient cycling and improving soil structure for healthier, more productive plants. It’s also quite low cost and available from most supermarkets so easy to find. You can also use it in baking so it’s good for the garden and tasty for the gardener!
15. Seaweed Extract Plant Booster
We love this and recommend seafood fertilisers to our own gardening clients as a great natural, plant-friendly garden health boost. It boosts plant growth and resilience with it’s seaweed extract, a natural plant growth stimulant rich in micronutrients, amino acids, and plant hormones. Dilute seaweed extract according to the manufacturer’s instructions and apply it as a foliar spray or soil drench. Seaweed extract enhances nutrient uptake, increases drought tolerance, and strengthens plants’ natural defences against pests and diseases. It’s also safe for pets and humans – just be aware there may be a bit of an initial smell when applying!
16. Vinegar Ant Repellent
Deter ants from invading your garden by spraying vinegar around entry points and ant trails. Vinegar disrupts ants’ scent trails, making it harder for them to navigate and communicate with one another. Reapply vinegar as needed, especially after rain or watering, to maintain its effectiveness as a natural ant repellent. As usual with vinegar, take care to avoid plant leaves when applying and try to stick to spraying hard-scaped areas – especially if reapplication is needed. This way you won’t accidentally change your soil’s PH levels and make them too acidic.
17. Beer Slug Trap
Yes, this requires sacrificing a beer for the cause, but your slugs aren’t fancy, skip the craft beer aisle and go straight to whatever is on special! Set up beer traps to lure and drown slugs and snails in your garden. Bury shallow containers, such as yogurt cups or saucers, at soil level and fill them with beer. Slugs are attracted to the yeast in beer but drown upon entering the trap. Empty and refill the traps regularly to keep them effective in controlling slug populations without the need for chemical pesticides. Of course, you might want to avoid this one if you have pets. Because slugs are attracted to the yeast, if you really don’t want to share your beer, or don’t want to intoxicate your curious pets, you can try a mix of Vegemite and water instead.
18. Citrus Peel Pest Barrier
Create a natural pest barrier by placing citrus peels around plants vulnerable to pests like aphids and ants. Citrus peels contain compounds that repel pests and mask the scent of susceptible plants, making them less attractive to potential invaders. Replace citrus peels periodically to maintain their repellent properties and keep pests at bay in your garden. Importantly, make sure to use only the peels themselves – the sugar and juices of the fruit will have the opposite effect and attract pests!
19. Diatomaceous Earth Pest Control
Use food-grade diatomaceous earth (DE) to control crawling insects like ants, cockroaches, and beetles in your garden. Sprinkle a thin layer of DE around the base of plants or on soil surfaces where pests are active. It’s a bit horrible to think about how it works, but DE isn’t actually eaten by the pests, rather it works by abrading pests’ exoskeletons, causing them to dehydrate and die. More than just a useful tip for the garden, it can also help with eradicating bed bugs, mites and fleas, so it’s an option that is worth having a look into!
Now that we have given loads of tips for garden health, here are some more useful gardening tips for helping them look great!
20. Vertical Gardening Beauties
For gardens large, and especially small, vertical gardening is a great addition! Chuck some veggies like cucumbers, tomatoes or beans on a trellis and watch them climb. It’s a perfect way to save space and add a bit of charm to your backyard with lush greenery growing from every angle. Not only does vertical gardening maximize space, but it also enhances air circulation around plants, minimizing disease risks and elevating the aesthetic appeal of your garden. From herbs, to veggies or your favourite flowering plants, take your garden to another ‘level’ by adding a vertical garden.
21. Bee-Friendly Blooms
We love bees – and the world needs more of them, so we all need to do our part! Bring in the buzz to your garden with native flowers like lavender, sunflowers or bee balm. These beauties are like a beacon for bees, pollinating away and adding a bit of life to your garden party by attracting pollinators and encouraging biodiversity. By providing a haven for bees and other beneficial insects, you’ll not only support local ecosystems but also boost the productivity of your garden through enhanced pollination. Not to mention, these blooms look beautiful!
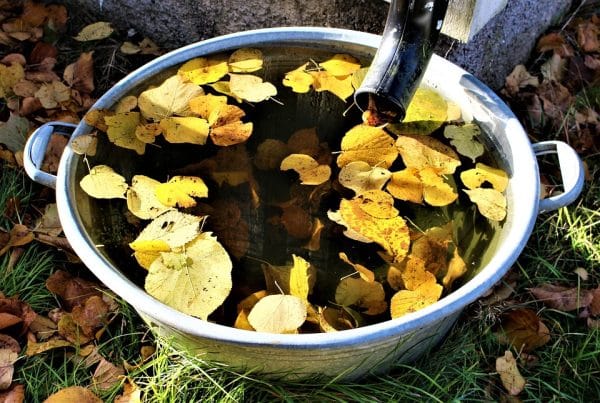
22. DIY Rainwater Harvesting
Why fork out for extra water when you can snag it from the sky? Here in Perth, we need every bit of extra water we can get – especially for those of us with gardens to grow! Place a couple of rain barrels under your gutters, and you can give your plants an extra drink or two for free. Not only does rainwater harvesting conserve water and reduce utility costs, but it also provides plants with a nutrient-rich source of hydration, promoting robust growth and vitality.
23. Companion Planting
Get your green mates together for a bit of a mix-up! Stick some basil next to your tomatoes and watch them grow better together than apart – it’s like nature’s version of a perfect pair. By strategically pairing compatible plant species you’ll get a whole lot more out of your garden. For instance, interplant aromatic herbs like basil or mint among your vegetable crops to deter pests and enhance flavour profiles. By leveraging the natural repellent properties of certain plants, you can create a harmonious ecosystem in your garden that minimises pest pressure and maximises growth. It can also add a bit of interest and difference to your garden as well!
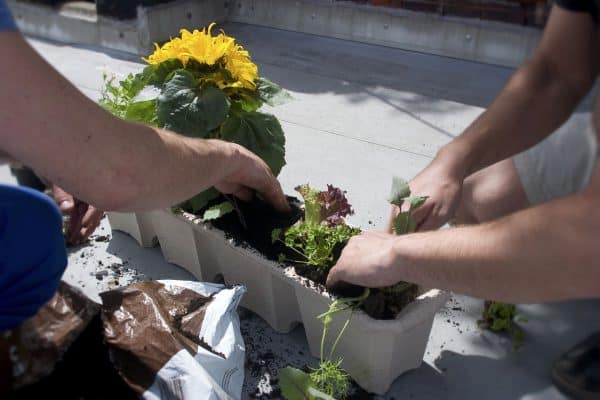
24. Creative Container Gardening
Who says you need a big backyard to have a top-notch garden? Whether it’s on your balcony or in your backyard, container gardening is a real game-changer! Repurpose items like old tires, wooden crates, bathtubs, wheelbarrows or even kitchen colanders as whimsical planters for herbs, flowers, or succulents. Container gardening not only adds visual interest to your garden but also enables mobility, allowing you to rearrange your plantings (just roll the wheelbarrow where you want it) with ease and adapt to changing sunlight conditions.
25. Heritage Heirlooms
Celebrate biodiversity and preserve culinary traditions by cultivating heirloom varieties of fruits and vegetables. From vibrant heirloom tomatoes (which taste incredible) to ancient grains like quinoa, heirloom plants offer unparalleled flavour and genetic diversity. By championing heirloom gardening, you contribute to the preservation of rare and endangered plant varieties, ensuring a vibrant tapestry of flavours for future generations to enjoy.
26. Natural Pest Predators
Harness the power of nature’s pest control agents by attracting beneficial predators to your garden. Introduce insectaries of predatory insects such as ladybugs, lacewings, or parasitic wasps, which prey upon common garden pests like aphids, caterpillars, and mites. By fostering a balanced ecosystem of predator and prey, you can mitigate pest damage without resorting to harmful chemical interventions. Add an insect hotel or two to your garden to really help them feel at home – and your kids will love it too!
27. Soil Solarisation Technique
Combat soilborne pests, weeds, and diseases through the practice of soil solarisation. Give your soil a spring clean by throwing a bit of plastic over it during the summer months and let the sun work its magic. It’s a top-notch way to get rid of pests and diseases without lifting a finger. To employ this technique, cover moistened soil with clear plastic sheeting during the hottest months of the year, allowing the sun’s heat to penetrate and sterilise the soil. Soil solarisation effectively eliminates harmful pathogens and weed seeds, creating a clean slate for subsequent plantings and promoting optimal soil health.
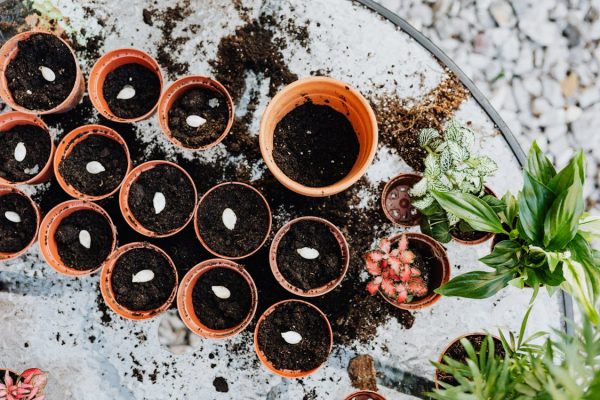
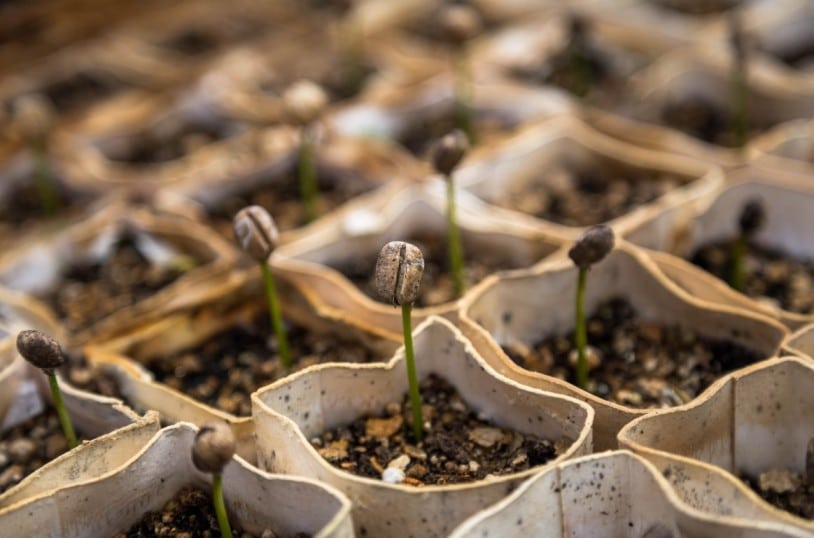
28. Seed Saving Savvy
Cultivate self-sufficiency and preserve genetic diversity by mastering the art of seed saving. Selectively harvest seeds from the healthiest and most robust plants in your garden, ensuring genetic resilience and adaptability to local growing conditions. Label and store seeds in a cool, dry environment for future plantings, perpetuating a cycle of abundance and continuity in your garden ecosystem.
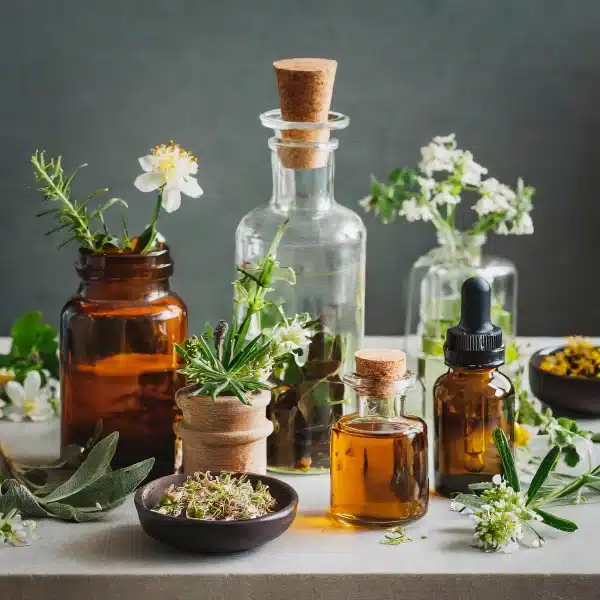
29. Herbal Remedy Elixirs
Harness the healing properties of herbs to create homemade botanical remedies for common garden ailments. Medicinal herbs like chamomile, calendula, or comfrey can treat plant diseases, enhance soil fertility, and promote overall garden wellness. For example, chamomile tea helps treat and prevent fungal diseases, calendula repels pests, and comfrey leaves add beneficial nutrients to the soil. There is so much more to discover about how plants can help and heal other plants – get researching!
30. Lasagna Gardening Technique
Layer up your garden beds like you’re making a giant veggie lasagna to build nutrient-rich soil beds without tilling or digging. Layer organic materials such as cardboard, straw, compost, and aged manure directly onto the ground, creating a lasagna-like structure that decomposes over time. As the layers break down, they enrich the soil with organic matter and foster a thriving microbial community, resulting in fertile, loamy soil perfect for planting.
Whew, and those are our top 30 useful gardening tips for our fellow Perth gardeners. We hope you found something to use and ways to make your garden happier and healthier in our blog!
Don’t forget, our gardening teams are out and about all week making Perth gardens tidy and beautiful, so if we can help with yours – give us a call on 08 6263 4645!
For all our customers who, like us, are based in the City of Cockburn, you probably already know that our area is very focused on sustainability measures.
Cockburn was even awarded Overall Winner for both the State and National, Keep Australia Beautiful, Australian Sustainable Cities Awards in 2012!
What you might not know, is that there are a bunch of awesome offers available for local homeowners as part of the Climate Change Strategy 2020 – 2030. So, we wanted to feature them and make sure our local clients can take advantage!
1. Request a FREE street tree.
Make your street greener by submitting for a free tree to be supplied and planted on your verge.
What’s even better is that the City also then pays for all future pruning so it doesn’t increase maintenance for you.
That is great news because, although we can take care of all other gardening in Jandakot and Cockburn for you, we can’t prune a street tree – that’s a Council job.
Always wanted a veggie garden but worried you don’t have the skills to do it alone?
Join a Grow It Local seasonal grow-along — curated by master gardener Paul West plus top Aussie chefs.
They send you curated seeds, then guide you through every step of the growing journey, from patch prep and planting to harvesting and cooking. Grow your garden as part of an Australian-wide community!
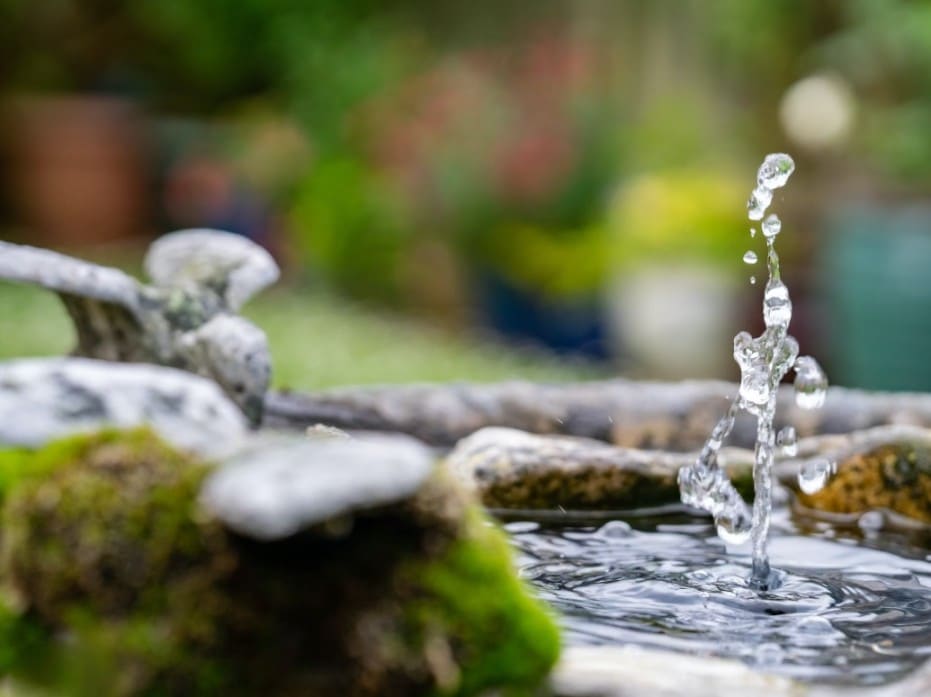
Did you know that as a Cockburn resident, you can receive a 50% rebate (up to $50) towards the cost of a bird bath?
Part of the Habitat for Homes program, the City wants to encourage residents to create habitats in their homes by growing native gardens and having bird baths for native animals to find shelter and food.
Keep our local birds hydrated in the heat – they are a key part of our eco-system and keeping Perth green!
This is close to our hearts. While we love a good lawn, nothing beats a waterwise, thriving and beautiful native verge garden. It looks amazing, reduces your water usage, and keeps the bees, insects and animals happy and the local eco-system strong!
The City of Cockburn offers a financial rebate to help local residents create waterwise verges with native waterwise plants – this includes plants, soil wetter and soil improver to get things off to a good start.
While applications have closed for 2023, they open again in April 2024 so it’s a great time to start planning and creating your ‘design’ for what you could create!
Compost is an amazing way to keep food waste out of landfill and put it back into your garden in the form of healthy soil bursting with nutrients for your garden! Perth soils are often quite depleted so creating your own soil is an amazing way to boost the health of your garden.
City of Cockburn residents are eligible for subsidies on worm farms, compost bins and bokashi bins. You can also collect a free compost caddy for your kitchen scraps from the City’s Administration Building – just to make composting even easier.
Get advice to help reduce your water and energy bills (and you might even get a twin compost bin system) with a free eco home audit. They will check your retic, hot water, heating and cooling systems, etc. And this is available for both homeowners and tenants – so everyone can save!
To book, just email sustainability@cockburn.wa.gov.au and provide your; 1) Full name 2) Complete address 3) Phone number. 4) An in-person home visit or a zoom (or facetime) consult.
As you can see, there are a bunch of subsidies and great offers available so if you live in Cockburn and want to make your home and garden greener, we hope you’ll take advantage of them!
7. Mulching – another great gardening tip
Another great way to reduce your water bills while keeping your garden healthy is to mulch – and now in late spring/early summer is the perfect time. Just give our team of expert gardeners a call on 08 6263 4645 to book in for a gardening service or get a mulching quote. We love to help out our neighbours here in the great City of Cockburn!
We all know that here in Perth, water is an especially precious resource.
As gardeners, and for all our clients who love their gardens, it’s essential for us to create and maintain beautiful gardens while being mindful of water conservation and doing what we can to make our gardens as waterwise as possible.
By using waterwise practices, we can significantly reduce water usage without compromising the health and care of our plants, gardens and lawns. In this blog, we’ll share some of our top tips for maintaining a waterwise garden in Perth, focusing on methods that help retain moisture, minimize evaporation, and maximize the efficiency of watering.
Because we all want our gardens, and Perth, to stay healthy, green and beautiful – it’s up to all of us to do our part!
There are of course, two aspects to a truly waterwise garden; one is creating a waterwise garden from the beginning, for a design, plant choices and reticulation system that will provide the best waterwise result. The second aspect, which is where we can help, is how to approach the ongoing maintenance and care of your existing garden in a waterwise way.
To design and create a waterwise garden from scratch, you’ll need to talk to a Perth landscaping company like our sister company at Perth Landscaping Experts to carry out your project!
Here are our care and maintenance tips for Waterwise Gardening
1. Choose Waterwise Plants
Even the most established garden will always need some replanting or additional planting along the way. When you replace or add plants to your garden, make sure that you are choosing plants that are native or adapted, as well as right for the location so they will require as little water as possible. These plants have evolved to thrive in hot and dry conditions, requiring less water once established. Incorporate or make the switch to drought-tolerant species such as kangaroo paw, lavender, grevillea, and rosemary in your garden or opt for low-water grass varieties. Ask your local nursery, check out the Water Corporation’s “Waterwise Plants for Perth” database, or talk to a local landscaping company with horticulturalists on their team for help with waterwise plant selection.
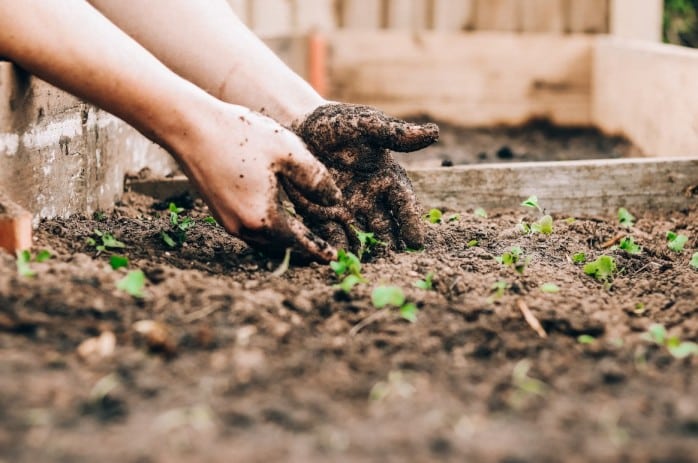
2. Improve Soil Health
While this is often overlooked, by investing in improving your soil’s health and structure, it can really enhance water absorption and retention and reduce runoff. Dig in organic matter, such as compost or well-rotted manure, to improve soil structure, promote water infiltration, and increase moisture-holding capacity. You can also regularly apply a wetting agent, especially in hot dry Perth summers, to make sure your garden can use every drop of water it gets. Healthy soil allows roots to access water more efficiently, reducing the frequency and amount of watering needed to keep your garden happy.
3. Mulch Your Garden
One of the most effective and proven ways to reduce watering and increase the health of your plants and soils is the correct application of much – and maintaining it at the right level year-round. Mulch acts as a protective barrier, reducing evaporation and suppressing weed growth. It also helps regulate soil temperature and conserves moisture, allowing you to water less frequently. Maintain a mulch layer of around 3-4 inches for optimal effectiveness. We love pine bark mulch for its look, chunky style (waterwise mulches should have a coarse and irregular texture) and natural material – it’s a great choice for most plants and gardens here in Perth.
4. Smart Watering Techniques
If you have a garden in Perth, you know all about the need for a reticulation system and will be aware that it must be switched off over Winter and is restricted to 2 watering days the rest of the year. We fully support this initiative and don’t worry; it is still possible to keep your garden happy using waterwise gardening methods and smart watering techniques.
These include:
a. Watering Deeply: Instead of frequent shallow watering, water deeply during your watering times. This encourages deep root growth, making plants more resilient to drought and makes sure that it doesn’t just wet the top of the soil but get all the way to the roots.
b. Time Your Watering: Water your garden during the early morning before 6am or late evening (but we recommend the mornings) when temperatures are cooler – never when the sun is out. This minimises evaporation and ensures more efficient water absorption by plants.
c. Choose a Waterwise irrigation company: They will understand things like which sprinkler heads and watering durations will deliver the right amount of water to your plants in the watering times you have allocated, and know how to extend or optimise your system so the water is getting to all areas of your lawns and gardens that need them.
d. Utilize Rainwater: Install a rainwater harvesting system to collect and store rainwater for later use in the garden. Use it for watering during drier periods or for specific plants that require extra attention.
e. Know Your Plants. If you have an established native garden, you may not need to water it much anymore, if at all. So, if your reticulation system is currently in ‘set and forget’ mode, you might want to take another look at your garden and see how much water your plants in their current state of growth actually need.
f. Watch your system watering. If your system is running at 6am, you might not have seen it in a while, so things like leaks, broken sprinklers that don’t pop up anymore or areas where more water might be going on your paths or driveways than your gardens!
5. Consider – Do You Really Need a Lawn?
We love a green vibrant lawn as much as anyone – but we also love making smart and waterwise garden choices. If you have a large verge area or grassed backyard, but don’t have a dog or you and your family just never use the area, maybe it’s time to consider replacing part or all of the grassy area with water-efficient alternatives like native ground covers or mulch. Turning your verge into a lush, native garden will reduce your water use dramatically, reduce the need for lawn mowing, and make it an incredibly attractive entrance to your property!
Another option is to replant lawn areas that don’t get much sun, such as around the base of a tree, with alternatives like native ground covers or mulch. Often lawn struggles to grow in these areas anyway so this won’t just reduce your maintenance requirements and water use but can also improve the entire look of the area as it will stay green where lawn would look turn brown or unhealthy.
At the end of the day, we all love a lawn, so for the spaces in your landscape you really must have one, go for a water-efficient species such as Saltene, Zoysia or one of the soft leafed Buffalos.
6. Carry Out Regular Garden Maintenance
Maintaining a waterwise garden involves regular care and attention. Having a regular gardening service helps with things like:
Pruning and trimming plants to make sure the sun, rain and reticulation system can get to all areas of your gardens and lawns
Well-pruned plants are also more efficient in their water utilisation than overgrown ones
Control weed growth so that every drop of water and nutrients are going to your plants, not to them! This also stops the weeds from blocking your sprinkler heads which can impact their area coverage
Regular mulch top-ups to maintain their water retention and fill in any gaps that occur
Prompt spotting of any garden health issues like dry or dead spots, reticulation leaks or water wastage
Did you know we are a waterwise garden company?
We are certified with the Water Corporation Waterwise Program, and so are our sister companies, so for anything garden maintenance, reticulation or landscaping, we can help or point you in the right direction!
Ready to create and maintain a waterwise garden?
We hope that by knowing and implementing these tips, you can enjoy a beautiful and thriving garden while significantly reducing water usage. By choosing the right plants, improving soil health, mulching effectively, utilising smart watering techniques, and practicing regular garden maintenance, you can contribute to conserving our valuable water resources while enjoying the beauty of your garden.
For help with regular garden maintenance, just get in touch with us on 08 6263 4645 and our lovely team will be happy to help your garden thrive!
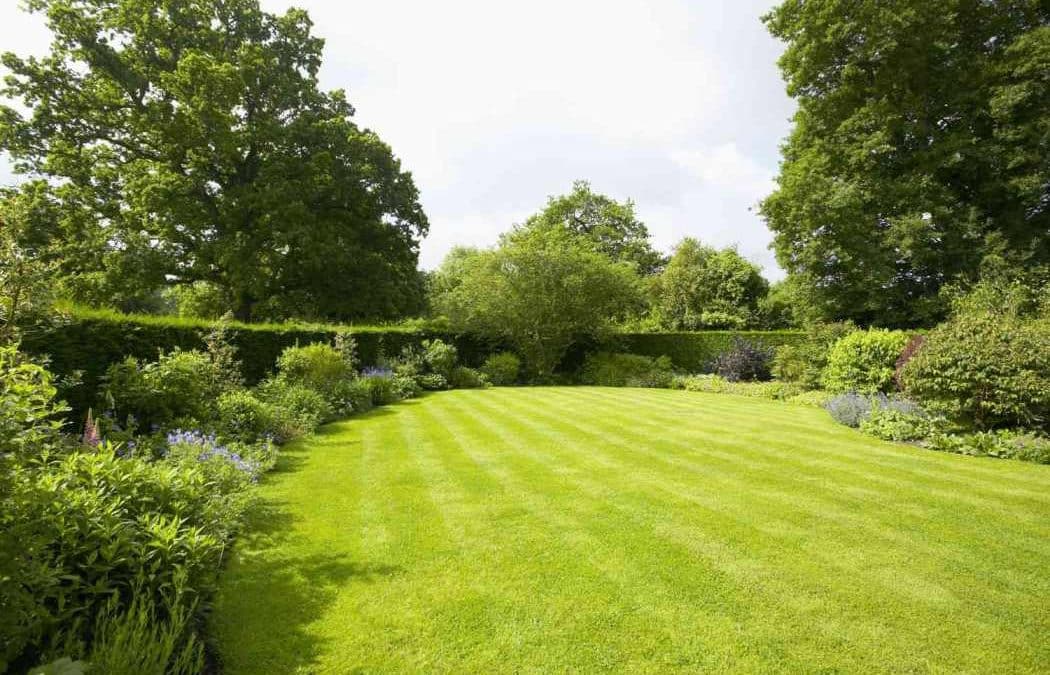
A lush green lawn is a sight to behold – and the envy of every neighbour. However, it takes more than just watering and mowing to achieve that perfect green lawn. With the right care and attention, it is possible to transform even the most lacklustre lawn into a verdant oasis. In this blog post, we’ll provide you with 10 simple steps to get a greener lawn.
Step 1: Know Your Lawn
Before you start any lawn care routine, it’s essential to understand your lawn grass type. Different types of grass require different types of care. In Perth, the most common grass types are Couch, Buffalo, and Kikuyu. Understanding your lawn type will help you determine the best watering and fertilising schedule.
Step 2: Water Your Lawn Correctly
In Perth, watering your lawn is crucial. During the hot summer months, it’s important to give your lawn enough water to prevent it from drying out. However, it’s equally important not to overwater. Overwatering can lead to root rot and other fungal diseases. As a rule of thumb, water your lawn deeply once or twice a week rather than lightly every day. Make sure to check with your local reticulation company to be sure your gardens and lawns are getting the water coverage and amount they need!
Step 3: Fertilise Your Lawn
Fertilising your lawn is essential to ensure it remains healthy and green. It’s best to fertilise your lawn in the spring and summer months, when the grass is actively growing. Choose a fertiliser that is suitable for your lawn type and avoid using too much fertiliser as it can burn your lawn.
Step 4: Mow Your Lawn Regularly
Here are some lawn mowing tips for a healthy lawn. Mowing your lawn is necessary to keep it looking neat and tidy. However, it’s important not to cut your lawn too short as this can cause stress to the grass and make it more susceptible to disease. In Perth, it’s recommended to keep your lawn between 2.5 to 4 cm in height.
Step 5: Aerate Your Lawn
Aerating your lawn is an essential step in maintaining a healthy lawn. Aerating helps to improve water and nutrient uptake, reduces soil compaction, and promotes deeper root growth. In Perth, it’s recommended to aerate your lawn in autumn or spring.
Step 6: Control Weeds
Weeds can quickly take over your lawn and cause it to look unsightly. It’s important to remove weeds regularly and use a selective herbicide to prevent them from coming back. Be careful when choosing a herbicide as some can damage your lawn. It’s important to know the best methods for weeding lawns to keep them healthy and vibrant.
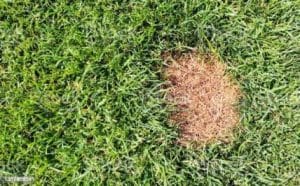
Step 7: Repair Bald Patches
Bald patches in your lawn can be caused by a variety of factors, including pests, disease, and poor soil conditions. It’s important to address the underlying issue before repairing the patch. Once you’ve identified the problem, reseed the area with a grass seed suitable for your lawn type.
Step 8: Provide Shade
In Perth, the hot sun can quickly dry out your lawn, causing it to turn brown. Providing shade to your lawn can help prevent it from drying out. Plant trees or install a shade sail to provide your lawn with the necessary shade. A good tip is to plant ground cover instead of lawn in areas which get zero sunlight, like at the base of trees, rather than trying to keep a lawn alive without sunlight amid roots and debris.
Step 9: Remove Lawn Clippings
Leaving lawn clippings on your lawn can prevent sunlight and air from reaching the grass, causing it to turn yellow. It’s important to remove lawn clippings regularly and dispose of them correctly.
Step 10: Hire The Experts
Achieving a green lawn takes time and effort. By following these 10 simple steps, you’ll be well on your way to a lush, green lawn.
If you’re struggling to get your lawn looking green and lush, it’s worth seeking professional help. Our garden and lawn care experts in Perth can help you keep your lawns and gardens looking healthy and lush with our garden maintenance services in Perth.
Contact us on 08 6263 4645 today to book in a service – your lawn and garden will thank you for it!
Here are our answers to some frequently asked questions about getting a greener lawn in Perth:
Q: What type of fertiliser should I use for my lawn in Perth?
A: The type of fertiliser you use will depend on your lawn type. In general, a slow-release fertiliser with a balanced NPK ratio is suitable for most lawns in Perth. It’s best to fertilise your lawn in the spring and summer months when the grass is actively growing.
Q: Can I mow my lawn when it’s wet?
A: It’s not recommended to mow your lawn when it’s wet. Wet grass can clog up your lawn mower and make it harder to cut your lawn evenly. It’s best to wait until your lawn is dry before mowing.
Q: How can I tell if my lawn needs aeration?
A: If your lawn is looking thin or patchy, it may need aerating. You can also perform a soil compaction test by pushing a garden fork into the ground. If the fork doesn’t go in easily, it’s likely that your soil is compacted and in need of aeration.
Q: How do I repair bald patches in my lawn?
A: Bald patches in your lawn can be caused by a variety of factors, including pests, disease, and poor soil conditions. Once you’ve identified the problem, reseed the area with a grass seed suitable for your lawn type. Keep the area moist until the grass seed has germinated and established.
Q: How can I prevent weeds from growing in my lawn?
A: Regular mowing and fertilising can help prevent weeds from growing in your lawn. However, it’s also important to remove weeds regularly and use a selective herbicide to prevent them from coming back.
Q: How can I provide shade for my lawn?
A: Planting trees or installing a shade sail can provide your lawn with the necessary shade. However, it’s important not to plant trees too close to your lawn as their roots can compete with your grass for water and nutrients.
Q: Do I need professional help to get a greener lawn?
A: While it’s possible to achieve a green lawn on your own, seeking professional help can save you time and effort. Lawn care experts in Perth can provide you with a personalised lawn care plan and recommend the best products for your lawn type. They can also help diagnose and treat any issues with your lawn.